n8n UI: How to Add a Chat Interface to Your n8n Workflows
n8n handles the backend, but your users still need a way to interact with it. Here's how to add a polished chat UI to any n8n chatbot workflow without writing frontend code.
Manoj Kumar
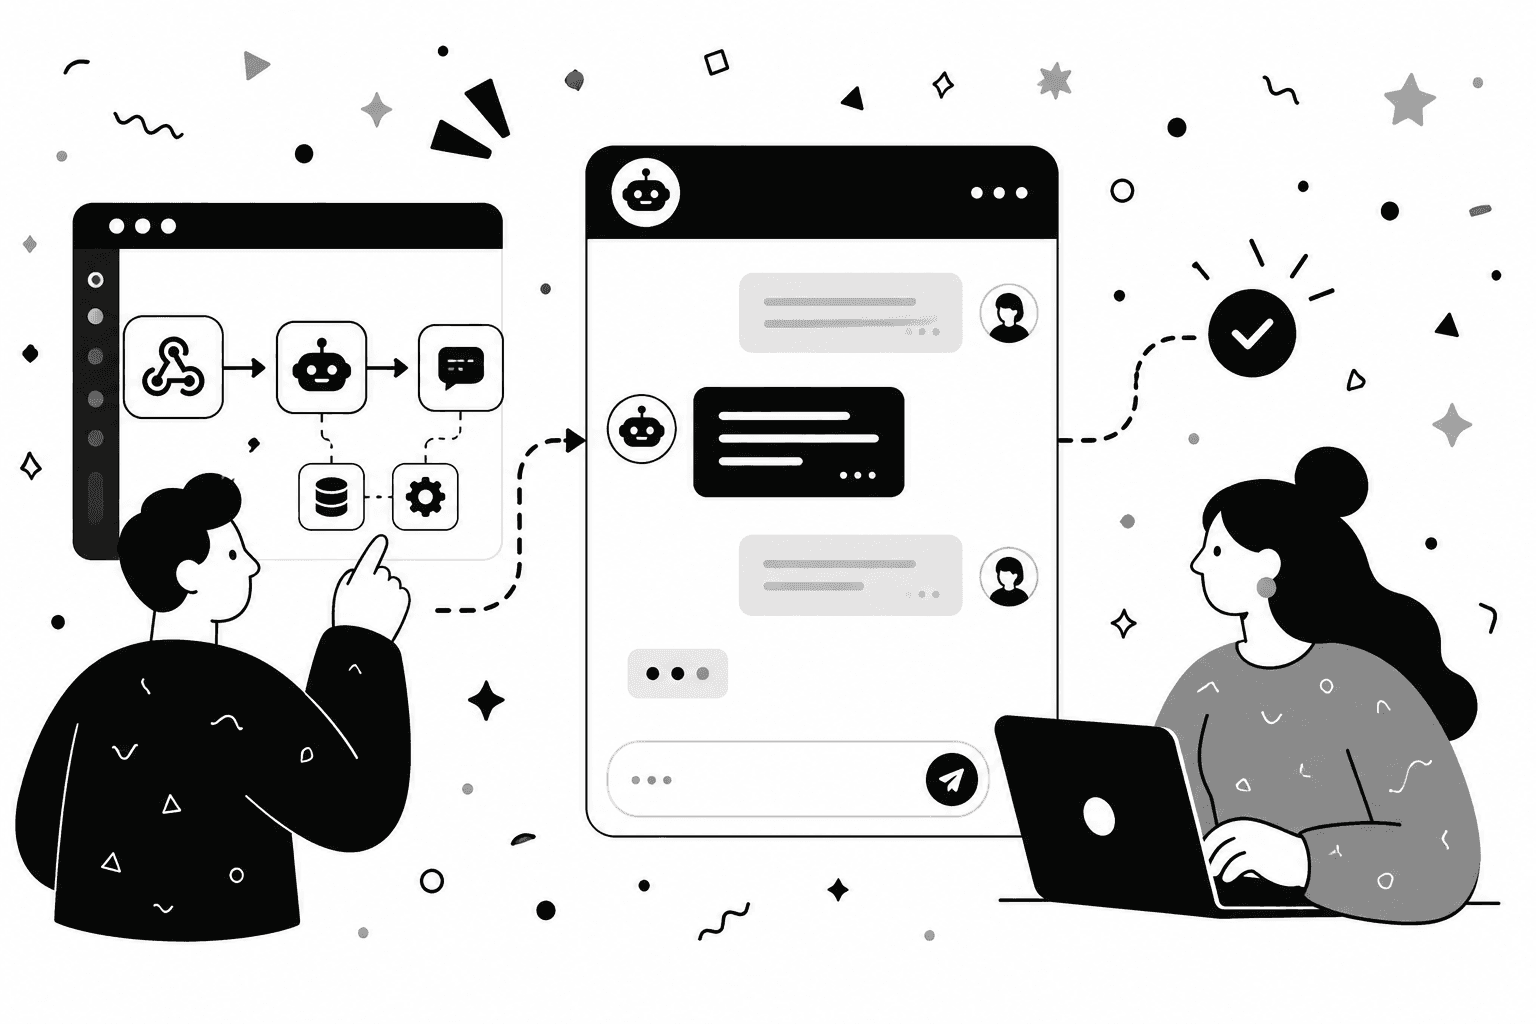
n8n is one of the most powerful automation tools available today. But if you've built an n8n chatbot or AI assistant, you've probably noticed something: n8n doesn't come with a user-facing UI.
The n8n UI you work with every day includes the node canvas, the workflow editor, and the test panels. It's built for you as the builder, not your users. So if you want to let customers, employees, or visitors actually interact with your n8n workflow, you need a separate interface.
- The gap between n8n's builder UI and a user-facing interface.
- Why the common workarounds (custom React app, generic chat tools) fall short.
- The 5-step process to add a polished chat UI without any frontend code.
- What you get for free out of the box: sessions, mobile, streaming, analytics.
Building that from scratch means frontend code, hosting, and ongoing maintenance. For most n8n users, that defeats the point of using a no-code tool in the first place.
This guide shows you how to add a polished, embeddable chat UI to any n8n chatbot workflow, without writing any frontend code.
1. The n8n UI Gap
n8n ships with two interfaces worth knowing about:
The main n8n UI. It's where you build automations, connect nodes, and manage your logic. This is your workspace, not your users'.
Appears when you use the Chat Trigger node. It lets you test conversations directly inside the n8n editor. Useful for development, but it's a testing tool. Not embeddable, not shareable, not production-ready.
That's the gap. n8n handles the backend perfectly. What's missing is a production-grade UI your users can actually interact with.
2. What People Usually Try First
Before reaching for the right tool, most people go through a few dead ends.
Usually the first stop. It's n8n's own embeddable widget, and it works, but every styling change means editing CSS variables in code, your webhook URL sits exposed in your page source, and there are no analytics. We break down its options and limits in our complete @n8n/chat guide.
The most common attempt after that. You write a React or Vue app, handle the webhook calls, manage chat state, style everything, and deploy it. This works, but it's easily a 2 to 4 day project even for an experienced developer. For most n8n users who picked n8n to avoid writing code, this defeats the purpose entirely.
Not designed for n8n. They're built around their own backends. Connecting them to a custom n8n webhook requires awkward workarounds, and you lose most of the control over how responses are rendered.
There's a cleaner path.
3. A Dedicated Chat UI for Your n8n Chatbot
n8nchatui.com is a chat widget builder designed specifically for n8n. You paste your n8n webhook URL, customize the look and feel to match your brand, and get an embeddable snippet you can drop into any website. No frontend code. No backend changes to your workflow. No configuration on the n8n side.
Your logic lives in n8n. Your UI lives on your site. Nothing gets rewritten in between.
Here's how to set it up from start to finish.
4. How to Set It Up
The process takes just a few minutes. Here's the short version:
- Make sure your n8n workflow has a webhook. If you're using the Chat Trigger node, you already have this. Copy the production URL from the node settings once your workflow is active. Our Chat Trigger node guide explains every setting if you're starting from scratch.
- Create a widget on the dashboard. Pick Standalone for a direct connection, or Managed if you want analytics, webhook security, and rate limiting.
- Customize the look and feel. The visual editor lets you adjust colors, fonts, layout, icons, and more. Choose between a floating popup or an in-page embed depending on where the chat fits in your site.
- Paste your webhook URL in the Connect tab. Test it from the preview panel before going live.
- Copy the embed snippet and add it to your site. Works on WordPress, Webflow, Shopify, static HTML, React, and more.
For a detailed walkthrough of each step, see our guide to creating a custom n8n chat widget. It covers every option in the setup process with full explanations. Prefer using your AI coding tool? The n8nchatui.com MCP server lets you create and customize widgets using natural language from Claude Desktop, Cursor, VS Code, or any MCP-compatible client. No dashboard required.
That's it. Your n8n chatbot now has a live, user-facing UI.
5. What You Get Out of the Box
Once embedded, the widget handles the things you'd otherwise have to build yourself: session management, mobile responsiveness, and graceful error handling. With Managed mode you also get webhook security, usage analytics, and rate limiting out of the box.
The widget auto-detects n8n chat streaming and switches to word-by-word mode with no extra configuration.
Full analytics dashboard covering message volume, sessions, devices, and geographic traffic.
The comparison guide covers the tradeoffs in detail.
Wrapping Up
n8n handles the hard part: the logic, the integrations, and the AI. What's been missing is a clean way to put that in front of your users. You don't need to build a React app, configure a third-party chat tool, or hand the work off to a developer.
Set up a widget, connect your webhook, and embed it on your site. Your n8n chatbot goes from a workflow in your editor to something your users can actually talk to.
Give your n8n workflow the UI it doesn't ship with.
A polished, embeddable chat interface for your bot in under five minutes. No React app, no third-party tool, no dev handoff.
More Articles
Create a Custom n8n Chat Widget (No Code)
A step-by-step guide to creating a fully customizable chat widget that connects to your n8n workflows and embed it on any website. No coding required.
March 4, 2026
n8n Chat Streaming: A Complete Setup Guide
Turn slow, wait-and-see AI chatbot responses into a real-time streaming experience. Learn how to set up chat streaming in n8n and connect it to a chat widget on your website.
April 2, 2026
Standalone vs. Managed Chat Widgets for n8n
A clear breakdown of the two widget modes available on n8nchatui.com: how they differ, what each one offers, and which one fits your use case.
March 4, 2026
How to Add a Free Chat Widget to WordPress (No Plugin)
Embed a free, AI-powered chat widget on any WordPress site in minutes with no plugin and no code. Connect it to n8n and customize every detail.
March 10, 2026