n8n Chat Trigger Node: The Complete Guide
Master the n8n Chat Trigger node: every setting explained, response modes, session IDs, file uploads, allowed origins, hosted vs embedded chat, and the Chat response node.

N8N Chat UI Team
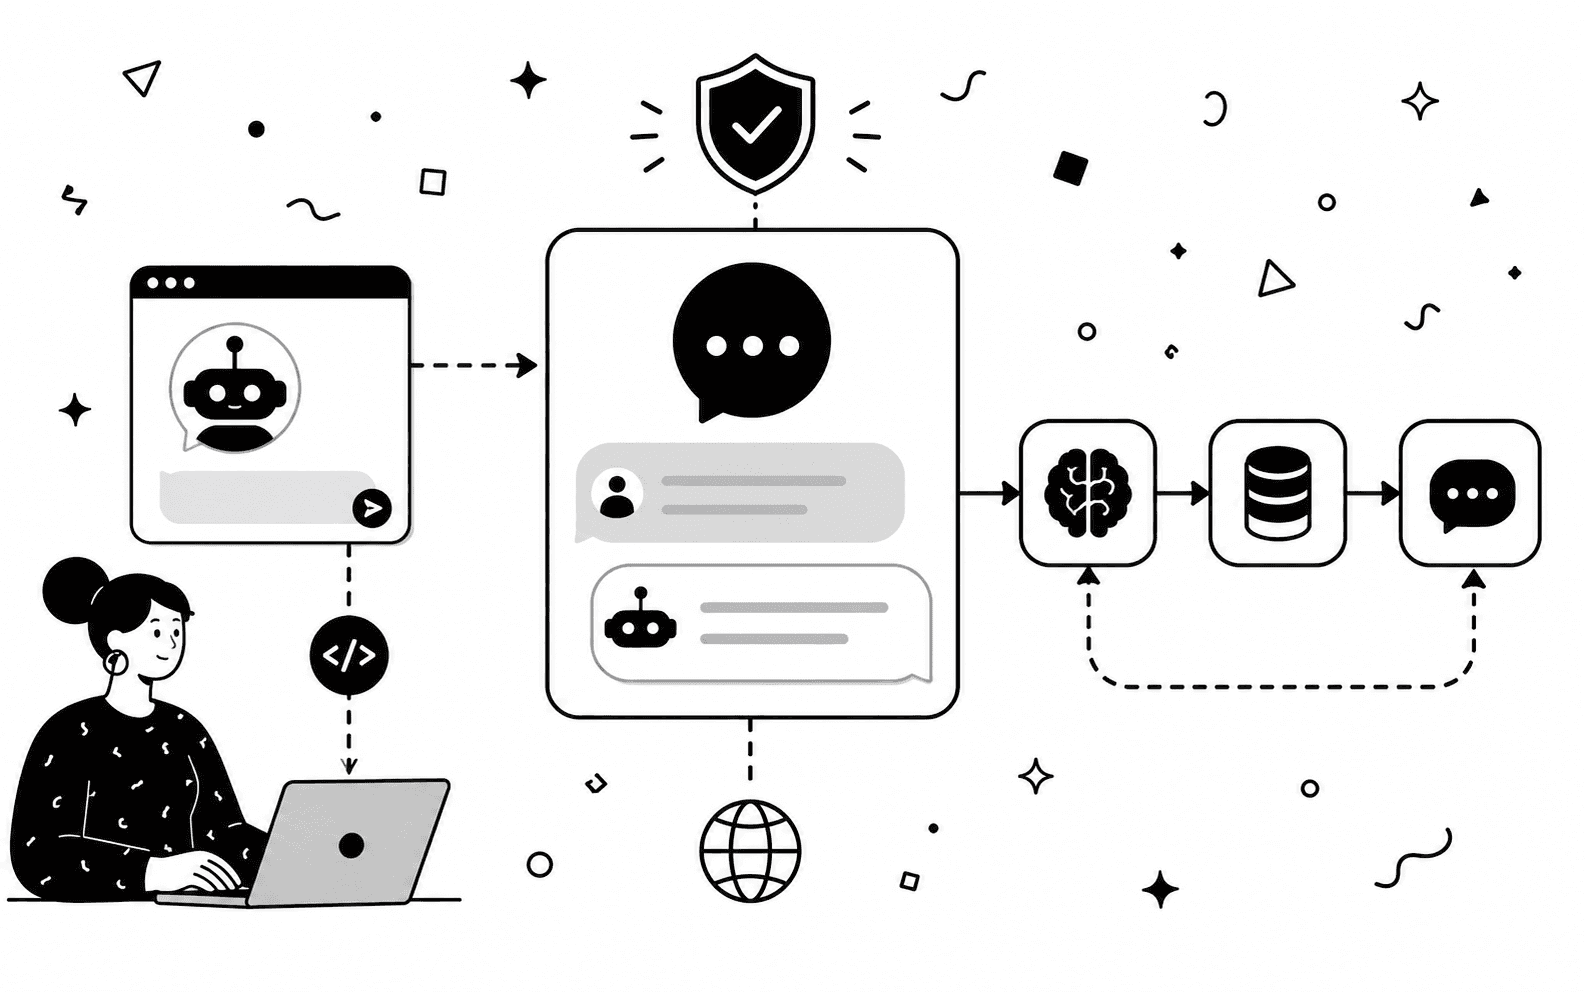
Every chatbot you build in n8n starts with the same node: the Chat Trigger. It's the entry point that receives messages, manages sessions, and decides how responses get back to the user. Get its settings right and everything downstream just works. Get them wrong and you'll meet the full catalog of n8n chat errors.
- Every setting on the Chat Trigger node, explained in plain English.
- All 3 response modes and when to pick each one.
- How session IDs actually work, and what breaks them.
- The full production-ready configuration for a chatbot on your own website.
The official docs describe each field briefly, but they don't explain how the settings interact or which combinations you actually want. This guide goes through every setting, the three response modes, how session IDs work, and how to put a real chat interface in front of the node.
What the Chat Trigger Node Does
The Chat Trigger starts a workflow whenever a chat message arrives. For every message it outputs three things your downstream nodes rely on:
The text the user typed.
An identifier that groups messages into one conversation.
Any custom data the chat widget sent along.
It also gives you a built-in chat panel inside the n8n editor for testing, and a webhook URL that external chat interfaces use to talk to your workflow in production.
Every Setting, Explained
1. Make Chat Publicly Available
Off by default. While it's off, only the test chat inside the n8n editor works. Turn it on when you want real users to reach the workflow through the hosted chat page or an embedded widget. Leave it off while you're still building.
2. Mode: Hosted Chat vs Embedded Chat
This choice decides where your users chat:
- Ready-made chat page served by n8n at a public URL.
- Basic text customization (title, subtitle, input placeholder).
- Runs on n8n's page, not your website.
- Great for quick shareable bots and internal tools.
- Turns the node into a pure webhook endpoint.
- You bring your own chat interface.
- Use the @n8n/chat package or a widget builder like n8nchatui.com.
- The mode you want for a chatbot on your own website.
3. Authentication
Three options control who can use the chat:
Anyone with the URL can chat. Fine for public bots, risky for anything internal.
Username and password, using an n8n credential.
Only people logged into your n8n instance can chat. Useful for internal tools.
4. Initial Message(s)
The greeting the bot shows before the user types anything. Available in Hosted Chat mode. Embedded widgets define their own initial messages on the widget side.
5. Allowed Origins (CORS)
A comma-separated list of domains allowed to call the chat webhook from a browser. This is the setting people forget most often: if your website isn't listed here, messages from your embedded widget are silently blocked by the browser. Enter exact origins like https://www.yoursite.com.
6. Allow File Uploads
Lets users attach files to their messages. When enabled, uploaded files arrive in the workflow as binary data alongside the message, and you can restrict what's accepted with Allowed File Mime Types (for example image/*,application/pdf). If you're using a custom widget, the widget needs file uploads enabled on its side too. Our file uploads guide covers the end-to-end setup including how to process the files in your workflow.
7. Load Previous Session
When enabled, the chat loads earlier messages from the same session, so returning users see their conversation history. It requires a memory node (like Simple Memory) connected in your workflow, because that's where the history actually lives.
8. Require Button Click to Start Chat
Hosted Chat only. Shows a welcome screen with a start button instead of dropping users straight into the conversation.
3 Most Used Response Modes
Under Options, Response Mode controls how the workflow's answer travels back to the user. This single setting causes more confusion than everything else combined.
The workflow runs to completion and the output of the final node becomes the reply. Simple and right for most chatbots.
The response streams back word by word as the AI generates it, like ChatGPT. Requires streaming support on both ends: the trigger and the AI Agent node. If you enable it on only one, you get the classic "No response received" error. The full setup is in our streaming guide.
The workflow controls exactly when and what to send using dedicated response nodes. Unlocks multi-step conversations, like sending a message, waiting for the user's answer, and continuing the workflow. Required if you use the Chat response node described next. If you hit “response mode” must be set to “using response nodes”, see the full fix.
The Chat Node (Respond to Chat)
n8n ships a companion node for advanced conversations, currently named Chat (older versions called it Respond to Chat). It can:
Push a message to the chat mid-workflow, useful for progress updates during long executions.
Pause the workflow until the user replies, with free text input or approval buttons.
Three constraints to know before you design around it:
- The Chat Trigger's Response Mode must be Using Response Nodes, or you'll get an error demanding exactly that
- It doesn't work in Embedded Chat mode; use the Respond to Webhook node there instead
- It can't be used inside subworkflows or as an agent tool
How Session IDs Work
Chat memory in n8n hinges on one field: sessionId. The Chat Trigger generates it per conversation and outputs it with every message. Memory nodes use it as the key for storing and retrieving history, which is how two visitors chatting at the same time don't see each other's messages.
If memory ever seems to leak between users, look at sessionId. That single field is what keeps conversations separate.
Things go wrong in two typical ways. If your memory node reports "No session ID found", the field isn't reaching it, usually because a custom widget or intermediate node renamed or dropped it. And if you embed several widgets that share one workflow, they share history unless each widget sends a distinct session key. The mechanics of both cases are covered in our session management docs.
Hosted Chat vs Your Own Website
The hosted chat page is the fastest way to get a shareable bot, and for internal tools it's often all you need. But for a customer-facing chatbot it has clear limits: it lives on an n8n URL rather than your domain, the visual customization stops at a title and a few labels, and it won't match your brand.
Embedding on your own site is where the Embedded Chat mode comes in, and you have two paths:
- Official package, free and functional.
- Styling happens in CSS code.
- Webhook URL sits exposed in your page source.
- No analytics.
- Paste the same webhook URL into a visual editor.
- Design with a live preview and embed a snippet.
- Managed widgets hide your webhook behind a proxy with rate limiting.
- Analytics dashboard included.
The @n8n/chat guide covers the DIY route, and the step-by-step widget guide walks through the no-code flow.
A Working Setup, Start to Finish
Putting it all together, here's the configuration for a production chatbot on your own website:
- Chat Trigger node: Mode set to Embedded Chat, Make Chat Publicly Available turned on
- Allowed Origins: your website's domain
- Response Mode: When Last Node Finishes (or Streaming, if you've enabled it on your AI Agent node too)
- AI Agent node connected to your model, with a Simple Memory node so conversations have context
- Activate the workflow and copy the production webhook URL
- Connect your widget to that URL and embed it on your site
From there, the details that matter are covered across our guides: streaming for real-time responses, file uploads for attachments, metadata for passing user context, and the error guide when something misbehaves.
Put a real chat interface on your Chat Trigger.
Paste your webhook URL, design the widget in a live preview, and embed it on your site. No CSS, no framework config, no exposed webhooks.
More Articles
n8n Chat Errors: How to Fix Every Common Message
Exact fixes for the most common n8n chat errors: 'No response received', 'Response Mode must be set to Using Response Nodes', missing session ID, invalid JSON, CORS failures, and more.
July 13, 2026
@n8n/chat: The Complete Guide to n8n's Chat Widget
Everything you need to work with the @n8n/chat package: every createChat option explained, CSS variables, metadata, React and Next.js setup, and fixes for the most common errors.
July 13, 2026
Create a Custom n8n Chat Widget (No Code)
A step-by-step guide to creating a fully customizable chat widget that connects to your n8n workflows and embed it on any website. No coding required.
March 4, 2026
n8n Chat Streaming: A Complete Setup Guide
Turn slow, wait-and-see AI chatbot responses into a real-time streaming experience. Learn how to set up chat streaming in n8n and connect it to a chat widget on your website.
April 2, 2026