@n8n/chat: The Complete Guide to n8n's Chat Widget
Everything you need to work with the @n8n/chat package: every createChat option explained, CSS variables, metadata, React and Next.js setup, and fixes for the most common errors.

N8N Chat UI Team
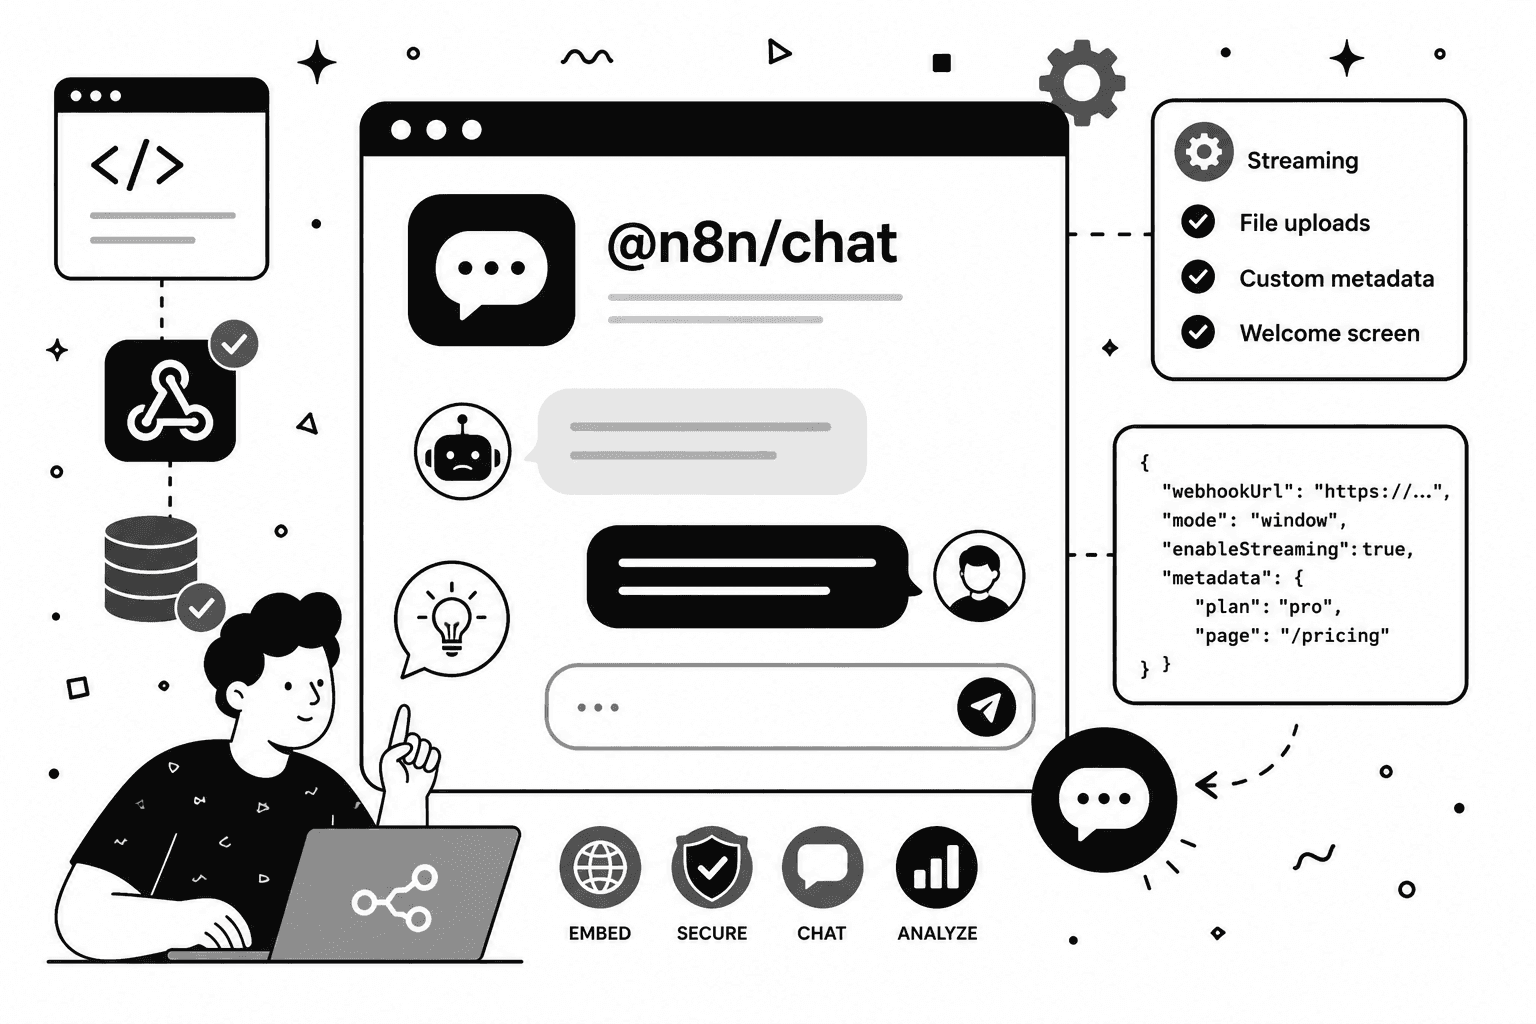
If you've built a chatbot in n8n and want to put it on a website, the first thing you'll find is @n8n/chat. It's the official embeddable chat widget that n8n publishes on npm, and it pairs with the Chat Trigger node to give your workflow a user-facing chat window.
The package works well, but its documentation is thin. The README covers the basics, and everything beyond that (option defaults, CSS variables, framework quirks) you end up piecing together from forum threads. This guide collects all of it in one place: how to install it, every createChat() option explained, how to style it, how to use it in React and Next.js, and what to do when it breaks.
- Both install paths (CDN script and npm) with runnable snippets.
- Every createChat() option, its default, and what it actually controls.
- CSS variable styling and framework-specific gotchas (React, Next.js, Turbopack).
- The most common errors when embedding the package, and where they come from.
1. What Is @n8n/chat?
@n8n/chat is a JavaScript package maintained by the n8n team. It renders a chat interface (either a floating chat bubble or a full-page chat) and connects it to an n8n workflow through the Chat Trigger node's webhook URL.
Before the widget can talk to your workflow, three things must be true on the n8n side:
- Your workflow starts with a Chat Trigger node
- The trigger's Make Chat Publicly Available toggle is on, and the workflow is Active
- Your website's domain is listed in the trigger's Allowed Origins (CORS) field
If any of these are missing, the widget loads but messages fail. We cover the exact errors this produces in our n8n chat errors troubleshooting guide, and the trigger settings in depth in the Chat Trigger node guide.
2. Two Ways to Install It
Option 1: CDN Script (no build tools)
Paste this before the closing </body> tag of any HTML page:
<link
  href="https://cdn.jsdelivr.net/npm/@n8n/chat/dist/style.css"
  rel="stylesheet"
/>
<script type="module">
  import { createChat } from "https://cdn.jsdelivr.net/npm/@n8n/chat/dist/chat.bundle.es.js";

  createChat({
    webhookUrl: "YOUR_PRODUCTION_WEBHOOK_URL",
  });
</script>The webhookUrl comes from your Chat Trigger node. Use the production URL, not the test URL, and make sure the workflow is activated.
Older tutorials reference a UMD build (chat.bundle.umd.js) loaded from unpkg, which exposed a global window.createChat function. Current versions of the package ship an ES module bundle (chat.bundle.es.js), so createChat is imported inside a script type="module" tag instead of being attached to window. If you're following an old snippet and window.createChat is undefined, this is why.
Option 2: npm (for bundled projects)
npm install @n8n/chatimport "@n8n/chat/style.css";
import { createChat } from "@n8n/chat";
createChat({
webhookUrl: "YOUR_PRODUCTION_WEBHOOK_URL",
});3. Every createChat() Option, Explained
Here is the full options object with its defaults:
Default: '' (empty, required). The Chat Trigger production webhook URL.
Default: { method: 'POST', headers: {} }. Lets you add custom headers, for example auth tokens.
Default: '#n8n-chat'. CSS selector of the element the widget mounts into.
Default: 'window'. 'window' shows a floating toggle button with a popup chat; 'fullscreen' fills the target container.
Default: false. Shows a welcome screen with a start button before the conversation.
Default: ['Hi there! 👋', ...]. Messages the bot displays before the user types anything.
Default: 'chatInput'. The field name your workflow reads the user's message from.
Default: 'sessionId'. The field name used for the conversation's session ID.
Default: true. Restores previous messages when the user returns. Requires memory set up in your workflow.
Default: {}. Custom data sent with every message — covered in the Sending Metadata section below.
Default: 'en'. Language key. Currently only en ships with the package.
Default: English strings. Lets you override every label: title, subtitle, input placeholder, and more.
Default: false. Adds a file attachment button to the input.
Default: '' (empty). Comma-separated MIME types users may upload.
Default: false. Renders responses word by word. Requires streaming enabled in your workflow too.
A more complete example:
createChat({
  webhookUrl: "YOUR_PRODUCTION_WEBHOOK_URL",
  mode: "window",
  showWelcomeScreen: false,
  initialMessages: ["Hey! 👋", "How can I help you today?"],
  i18n: {
    en: {
      title: "Support",
      subtitle: "We usually reply in a few minutes.",
      inputPlaceholder: "Type your question...",
      getStarted: "New Conversation",
    },
  },
  metadata: {
    plan: "pro",
    page: window.location.pathname,
  },
});window vs fullscreen mode
- Floating chat bubble in the corner of the page.
- Clicking it opens a fixed-size chat window.
- The mode most sites want.
- No container sizing required.
- Chat fills its target element completely.
- The target container needs explicit width and height.
- Best for dedicated chat pages.
- Missing container dimensions render as a zero-height strip.
For fullscreen mode, give the target container explicit dimensions:
<div id="n8n-chat" style="width: 100%; height: 100vh;"></div>createChat({
webhookUrl: "YOUR_PRODUCTION_WEBHOOK_URL",
mode: "fullscreen",
target: "#n8n-chat",
});If your fullscreen chat renders as a zero-height strip, missing container dimensions are almost always the cause.
4. Sending Metadata to Your Workflow
The metadata option attaches custom data to every message the widget sends. Inside your workflow, it arrives alongside chatInput and sessionId in the Chat Trigger output, so you can read it with an expression like {{ $json.metadata.plan }}.
createChat({
  webhookUrl: "YOUR_PRODUCTION_WEBHOOK_URL",
  metadata: {
    userId: "user_123",
    plan: "pro",
    source: "pricing-page",
  },
});This is how you pass user IDs, page context, or feature flags into your workflow without asking the user for them. If you're using a widget built with n8nchatui.com instead, the same concept is covered in our metadata documentation.
5. Styling with CSS Variables
The widget exposes its design tokens as CSS custom properties. Override them in your own stylesheet after the widget's stylesheet loads:
:root {
  --chat--color--primary: #10b981;
  --chat--color--secondary: #0f172a;
  --chat--window--width: 400px;
  --chat--window--height: 600px;
  --chat--border-radius: 0.75rem;
  --chat--message--font-size: 1rem;
  --chat--toggle--size: 64px;
  --chat--header--background: #0f172a;
  --chat--header--color: #f2f4f8;
}Variable names changed between versions. Current releases use a double hyphen before the token name (--chat--color--primary), while older releases used a single one (--chat--color-primary). If your overrides silently do nothing, open the package's style.css and check which spelling your installed version uses.
CSS variables get you colors, sizes, and spacing. Anything deeper (message bubble shapes, custom fonts per element, hiding components) requires targeting the widget's internal class names like .chat-window and .chat-message, which are not a documented API and can change between releases.
6. Using @n8n/chat in React and Next.js
The package manipulates the DOM directly, so in React you initialize it inside an effect:
import { useEffect } from "react";

import "@n8n/chat/style.css";

import { createChat } from "@n8n/chat";

export const ChatWidget = () => {
  useEffect(() => {
    createChat({
      webhookUrl: "YOUR_PRODUCTION_WEBHOOK_URL",
    });
  }, []);

  return <div></div>;
};In Next.js this component must be a client component (add "use client" at the top), and with React Strict Mode the effect runs twice in development, which can mount two widgets. Guard against it with a module-level flag or by cleaning up in the effect return.
The Turbopack style.css error
If you're on Next.js with Turbopack, importing @n8n/chat/style.css can fail with an error saying :global is not a valid pseudo-class. The package's stylesheet uses the standalone :global selector, and Turbopack only supports the function form :global(...).
The simplest workaround is to skip the package's CSS import entirely and load the stylesheet from the CDN in your layout instead:
<link
  href="https://cdn.jsdelivr.net/npm/@n8n/chat/dist/style.css"
  rel="stylesheet"
/>This bypasses Turbopack's CSS processing, and your createChat() call in the client component keeps working as before.
7. Common Errors When Embedding @n8n/chat
The errors you'll most likely hit, in order of frequency:
Usually CORS. Add your site's exact origin to Allowed Origins in the Chat Trigger node.
Streaming is on in the trigger but off in the AI Agent node. Our streaming guide covers the fix.
Your memory node expects sessionId but receives something else.
You're using the test URL, or the workflow isn't active.
Each of these has a dedicated section with the exact fix in our n8n chat errors guide.
8. The Limits of @n8n/chat, and When You Need More
For an internal tool or a quick prototype, @n8n/chat is a solid choice. It's free, official, and reliable. But when the chat faces real customers, teams tend to run into the same walls:
Every visual change means editing CSS variables and redeploying. There's no visual editor and no live preview.
Anyone who views your page source can call your workflow directly. There's no built-in rate limiting or abuse protection.
You can't see message volume, sessions, or what users actually ask.
Rich responses with images, cards, and formatted HTML need extra work in the workflow and the page.
@n8n/chat is fine until real customers show up. That's when the missing pieces (styling, security, analytics) start to matter.
n8nchatui.com exists for exactly this gap. You connect the same Chat Trigger webhook, but you design the widget in a visual editor with a live preview, and managed widgets add webhook protection, rate limiting, and a full analytics dashboard on top. No code, no redeploys for design changes.
If you've outgrown the DIY setup, the step-by-step widget guide shows the whole process in a few minutes.
Skip the CSS variables and forum threads.
Design your n8n chat widget in a visual editor with a live preview. Managed widgets add webhook protection, rate limiting, and analytics on top.
More Articles
n8n Chat Errors: How to Fix Every Common Message
Exact fixes for the most common n8n chat errors: 'No response received', 'Response Mode must be set to Using Response Nodes', missing session ID, invalid JSON, CORS failures, and more.
July 13, 2026
n8n Chat Trigger Node: The Complete Guide
Master the n8n Chat Trigger node: every setting explained, response modes, session IDs, file uploads, allowed origins, hosted vs embedded chat, and the Chat response node.
July 13, 2026
Create a Custom n8n Chat Widget (No Code)
A step-by-step guide to creating a fully customizable chat widget that connects to your n8n workflows and embed it on any website. No coding required.
March 4, 2026
n8n UI: How to Add a Chat Interface to Your n8n Workflows
n8n handles the backend, but your users still need a way to interact with it. Here's how to add a polished chat UI to any n8n chatbot workflow without writing frontend code.
May 15, 2026