Voice Input
Learn how to enable and handle voice input in your N8N Chat UI widget and n8n workflows.
N8N Chat UI allows users to record and send audio messages directly from the chat widget. These audio files are sent to your n8n workflow for transcription and further processing.
Enabling Voice Input
- While customizing your widget, enable the voice input option in the widget settings.
- You can configure the maximum recording time and set custom messages for unsupported browsers.
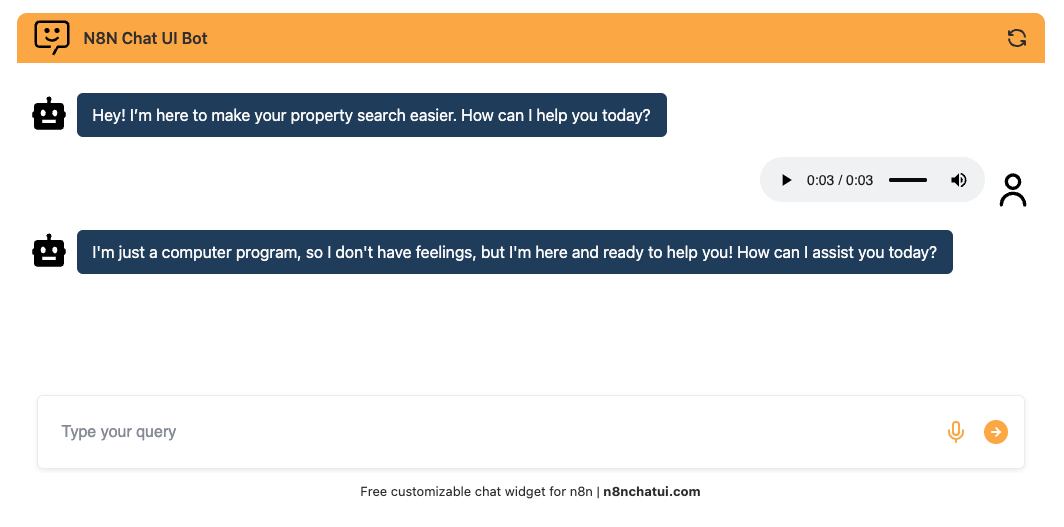
- When enabled, the chat input area displays a microphone icon. Users can press this to record and send audio messages using their device’s microphone.
How Voice Input Works
When a user records and sends an audio message through the chat widget:
- The recorded audio appears as a preview in the chat window.
- The audio file, along with the
metadatafield, is sent to your n8n webhook. - The
chatInputfield will be an empty string for audio messages.
Example:
How Audio Files Are Received in n8n
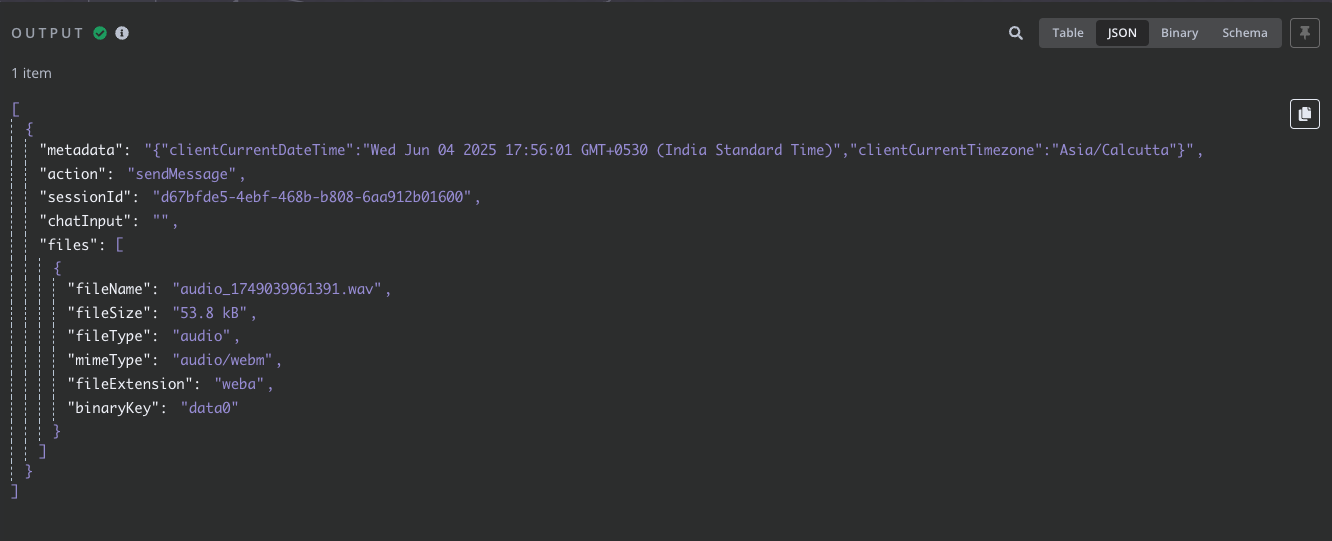
When audio is uploaded, your n8n workflow receives a payload containing:
- The
metadatafield (as a stringified JSON object) - The
chatInputfield (empty string for audio) - The
filesarray, with one object for the uploaded audio file
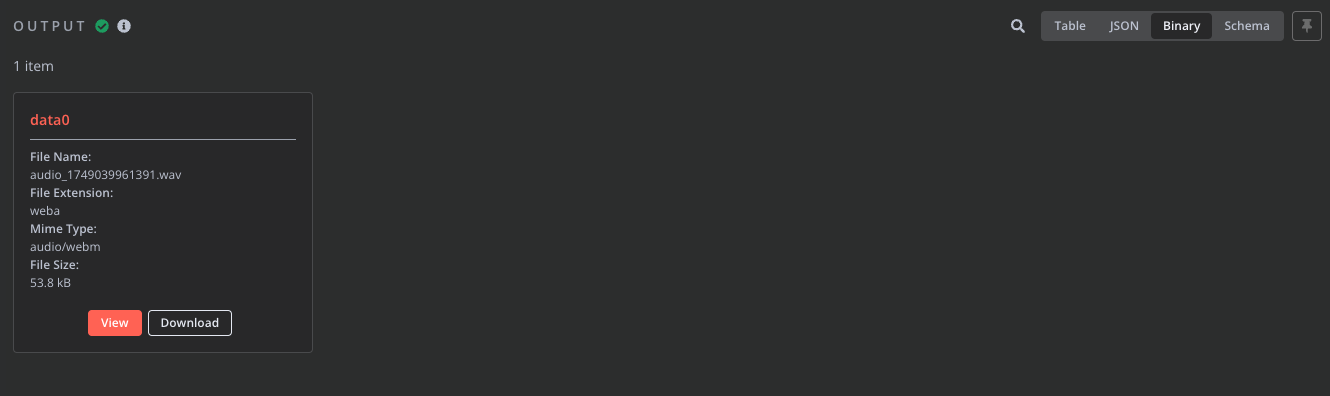
Important:
Audio files are sent in binary format.
You can view and download them in the Binary tab in n8n.
See the screenshots below for how audio files and their metadata appear in n8n:
JSON Output Example:
Binary Output Example:
Processing Audio in Your Workflow
- Receive the audio file in your n8n workflow (as binary data).
- Transcribe the audio using a speech-to-text service like OpenAI Whisper, Google Speech-to-Text, or any compatible API.
- Use the binary key to pass the audio to the transcription node.
- The transcription node will return the extracted text.
- Feed the transcribed text as human input to your agent or chatbot logic to generate a response.
Video Tutorial
For a step-by-step walkthrough—including setup, workflow configuration, and best practices—watch the detailed YouTube video below:
This video covers:
- How to enable and use audio input in your chat widget
- How audio files are received and processed in your n8n workflow
- How to transcribe audio and use the text in your automations
You’ll also find a downloadable workflow template and additional resources in the video description.
Summary
- Enable voice/audio input from the widget customization panel.
- Audio files are sent as binary data to n8n.
- The
metadatafield is stringified—always parse it before use. - Use a transcription service to convert audio to text, then process as usual in your workflow.
- For enhanced user experience, combine voice input with chat streaming for real-time AI responses.